
In a previous post, we explored the evolution of plugin development in Dynamics 365:
We compared the legacy DLL approach to the modern Plugin Package model, highlighting benefits like better ALM, dependency management, and solution-aware deployments. Now, let’s take it one step further:
How do you actually build, debug, and deploy Plugin Packages the right way?
Enter the Power Platform Tools for Visual Studio.
📚 What Are Power Platform Tools for Visual Studio?
Power Platform Tools is a Visual Studio extension that simplifies plugin and workflow activity development by:
- Providing project templates for plug-ins, workflow libraries, and CRM packages
- Supporting debugging and profiler integration
- Enabling solution-aware deployment to Microsoft Dataverse
⚠️ Note: This tool is not compatible with the older Developer Toolkit for Dynamics CRM. It’s a completely independent, modern tool.
⚙️ Prerequisites
Before you begin:
- Visual Studio 2019 or 2022
- .NET Framework 4.6.2 or later
- C# development environment
- Access to a Dataverse environment (trial is fine)
If building workflow activities, install Windows Workflow Foundation via Visual Studio Installer.
🔄 Installing Power Platform Tools
- Open Visual Studio
- Select Extensions > Manage Extensions
- Go to Online > Visual Studio Marketplace
- Search “Power Platform Tools”
- Install the appropriate version:
- “Power Platform Tools” for VS 2019
- “Power Platform Tools for VS 2022” for VS 2022
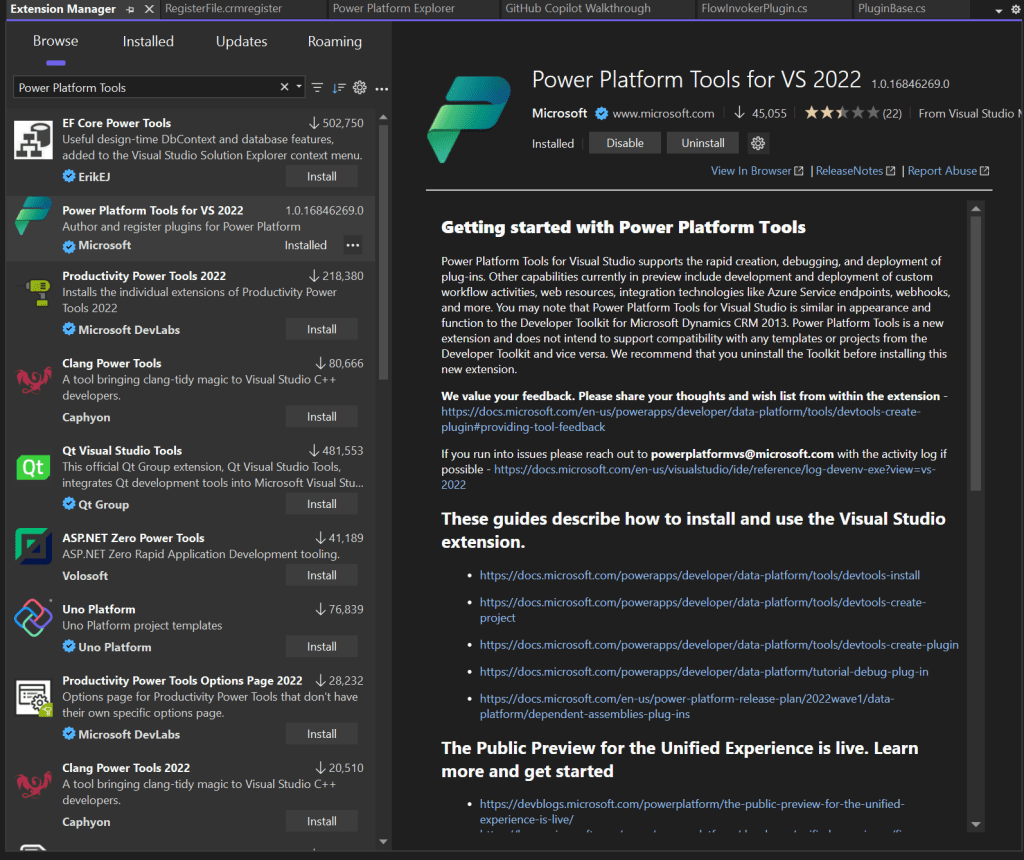
You’ll only see tool options after you create a project using its templates.
📅 Step-by-Step: Setting Up Your Plugin Project
1. File > New > Project
2. Search for: Power Platform Solution Template

3. Choose it and click Next. Enter project details and choose a .NET Framework version (4.6.2+).
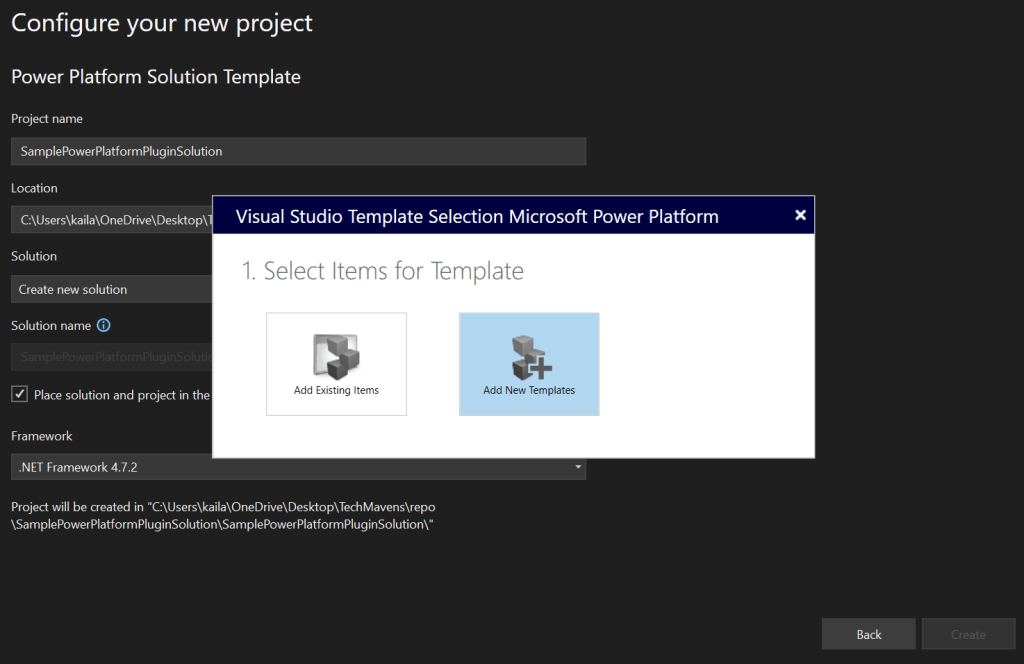
4. Connect to your Dataverse environment
5. Select the template projects
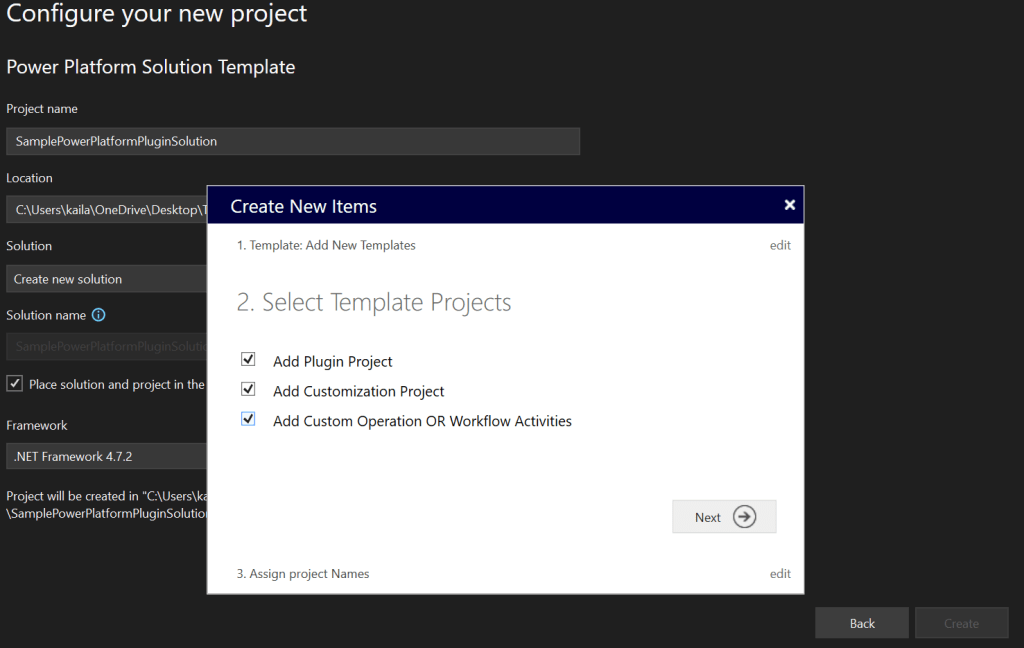
6. Specify the project name
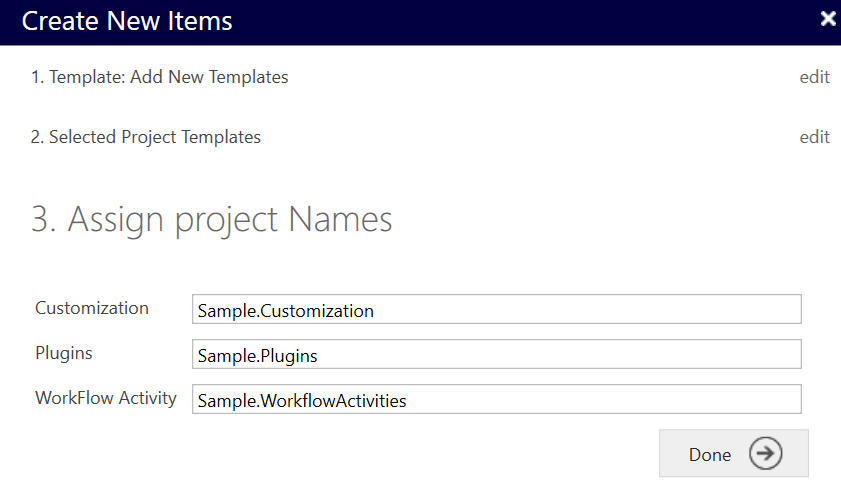
7. The project and the solution will be created as shown below:
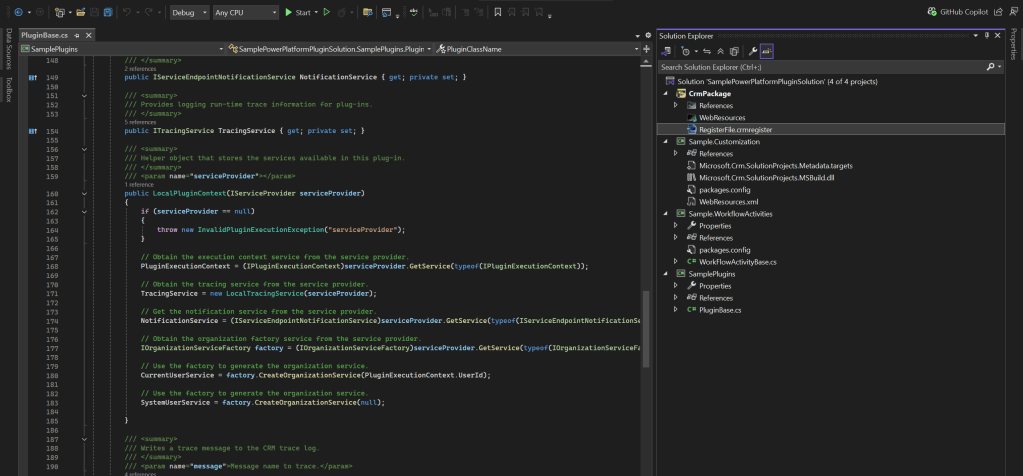
🔹 Creating Plugin Classes
1. Open Power Platform Explorer (View > Power Platform Explorer)

2. Expand Tables, right-click your target entity, then select Create Plug-in. Choose or specify your class name.

3. Your plugin class file will be created as shown below:
4. Write your plugin code, sign the assembly, and build the project.

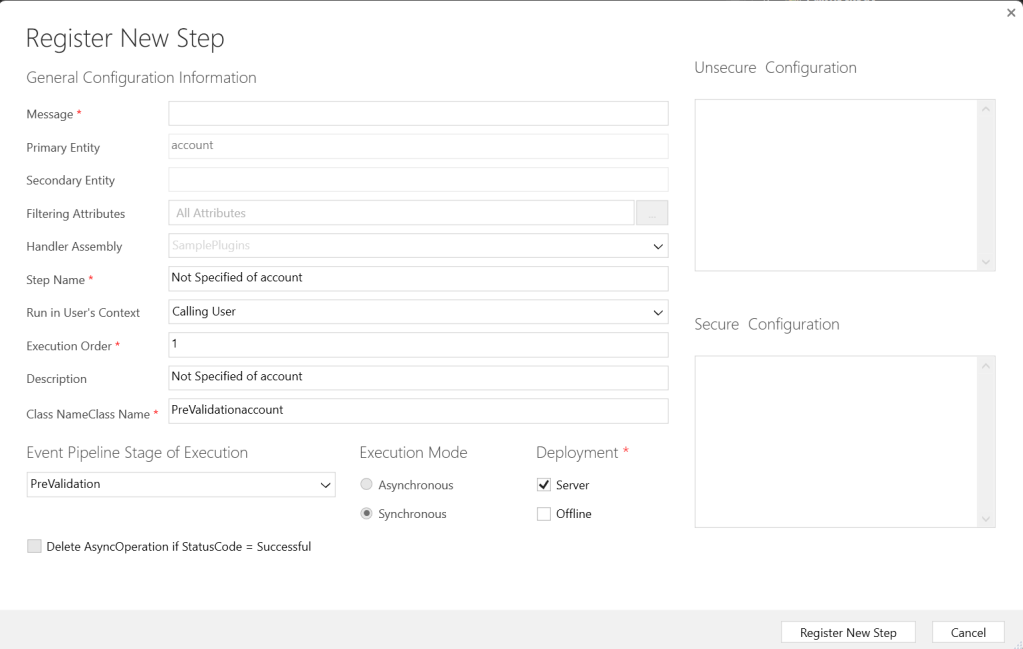
5. Use the Deploy option to deploy the package. This will auto-register the plugin and DLL.

6. Verify registration in Power Platform Explorer:

🔧 Install the Plug-in Profiler (for Debugging)
- Open View > Power Platform Explorer
- Connect to your environment
- Expand your org node > Right-click Plug-in Assemblies
- Select Install Profiler
